Tarot Routing Planner Quickstart
This guide outlines the standard operational flow for a Dispatcher using Tarot Routing.
It covers the three main stages of the platform: Planning, Routing, and Tracking.
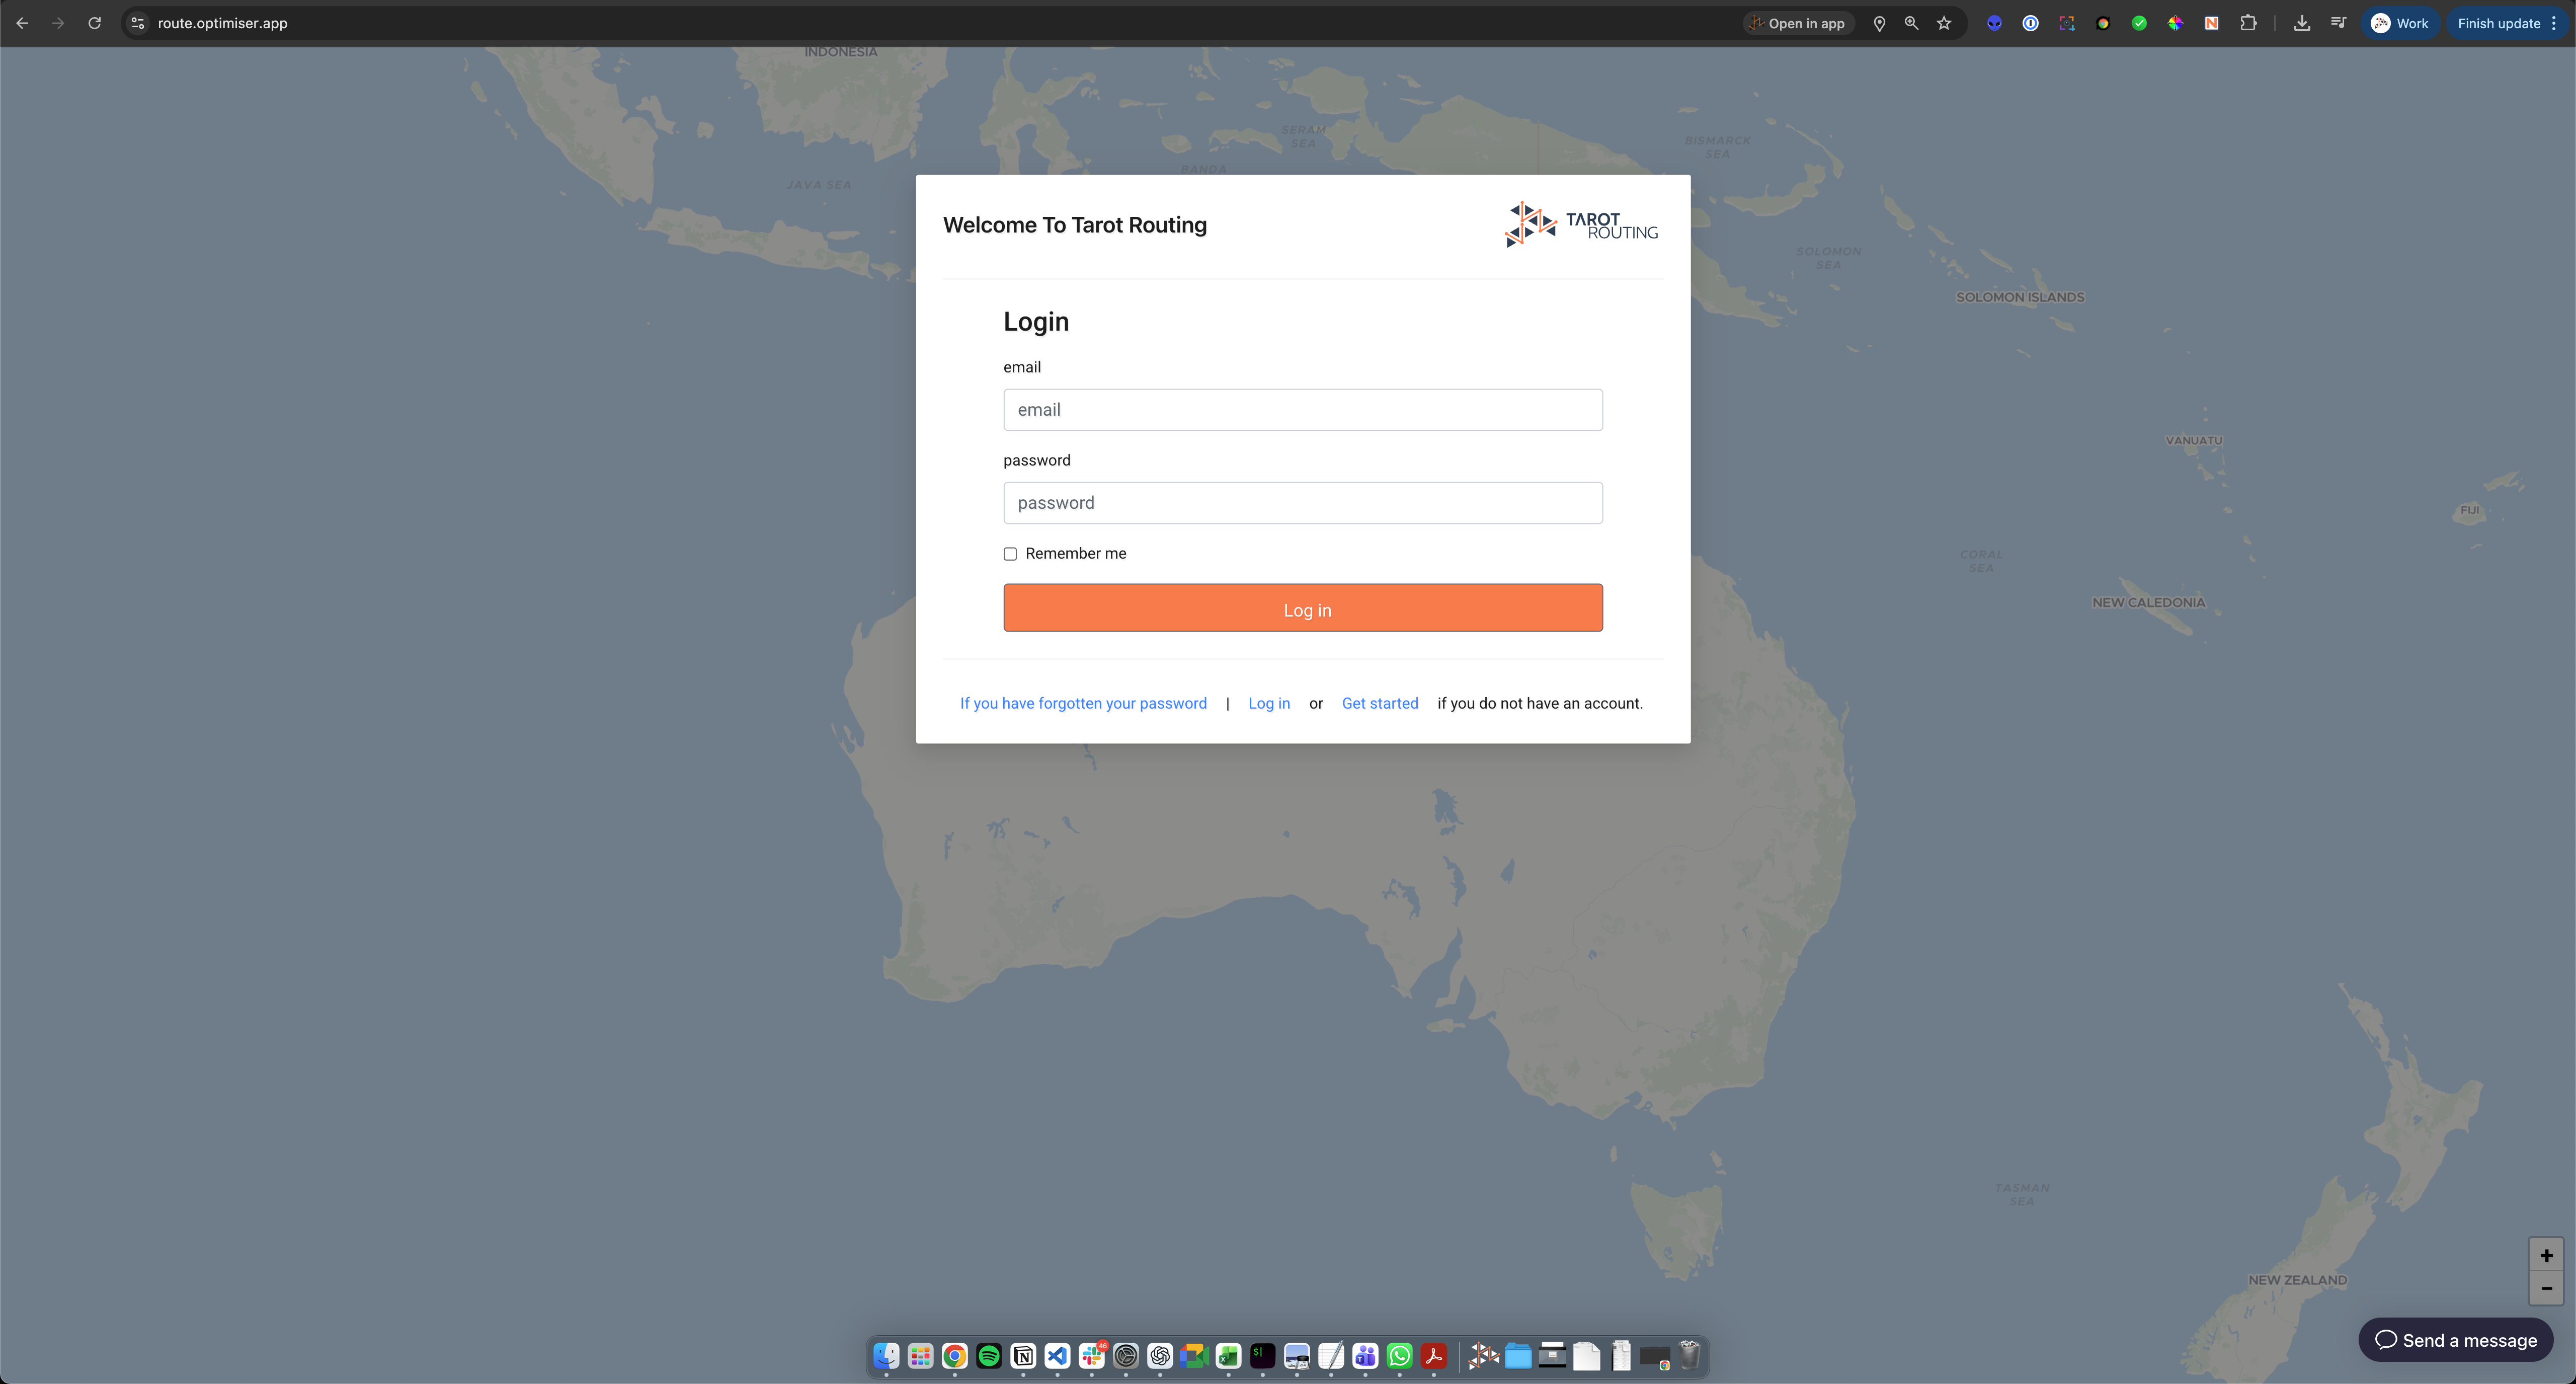
Login
- Navigate to route.optimiser.app.
- Log in using your provided credentials.
- Note: If you do not have credentials, contact
info@tarotanalytics.com.
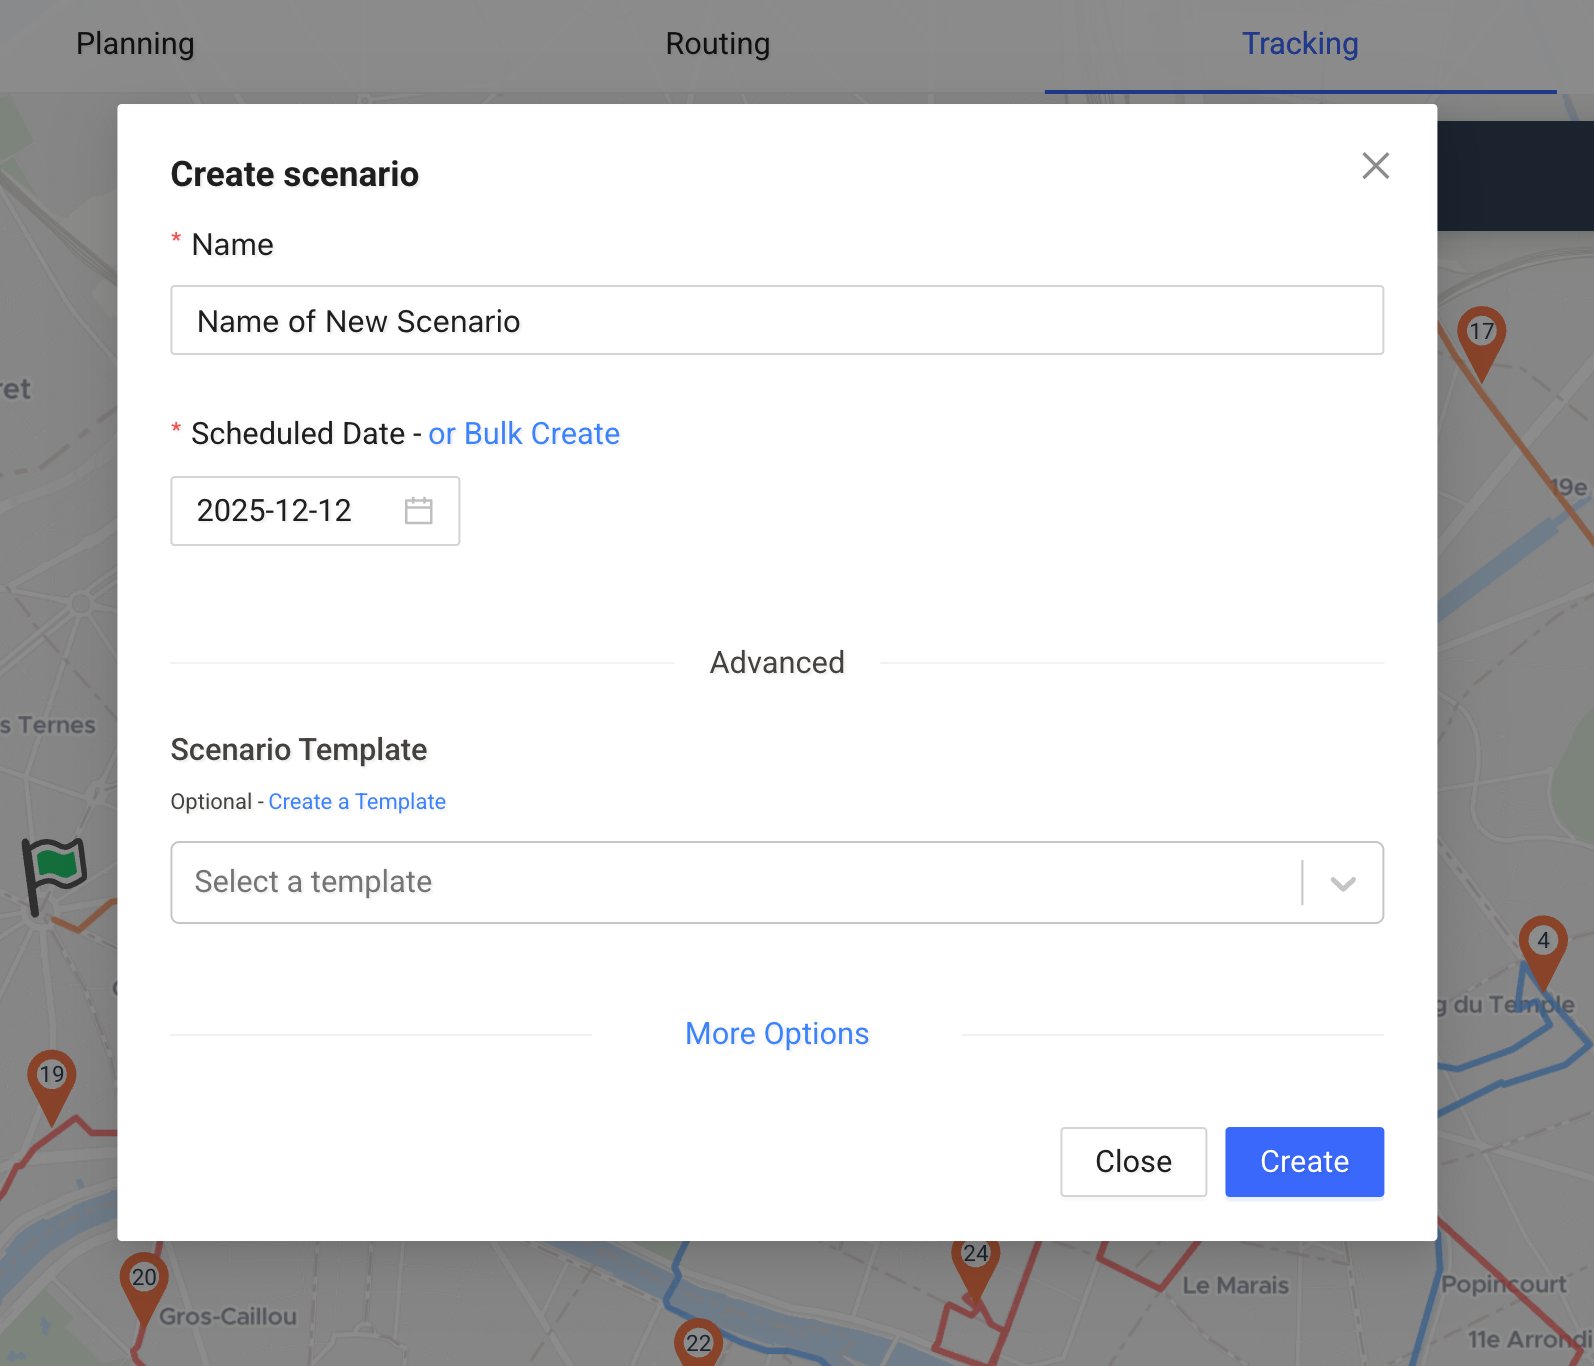
Create a Scenario
Upon logging in, the first step is to establish a Scenario. A scenario represents a collection of jobs to be completed in a single delivery wave.
- Click Create Scenario.
- Name your scenario and set the date.
- Click Create to enter the Planning Stage.
Planning Stage: Jobs & Drivers
In this stage, you define what needs to be delivered and who will deliver it.
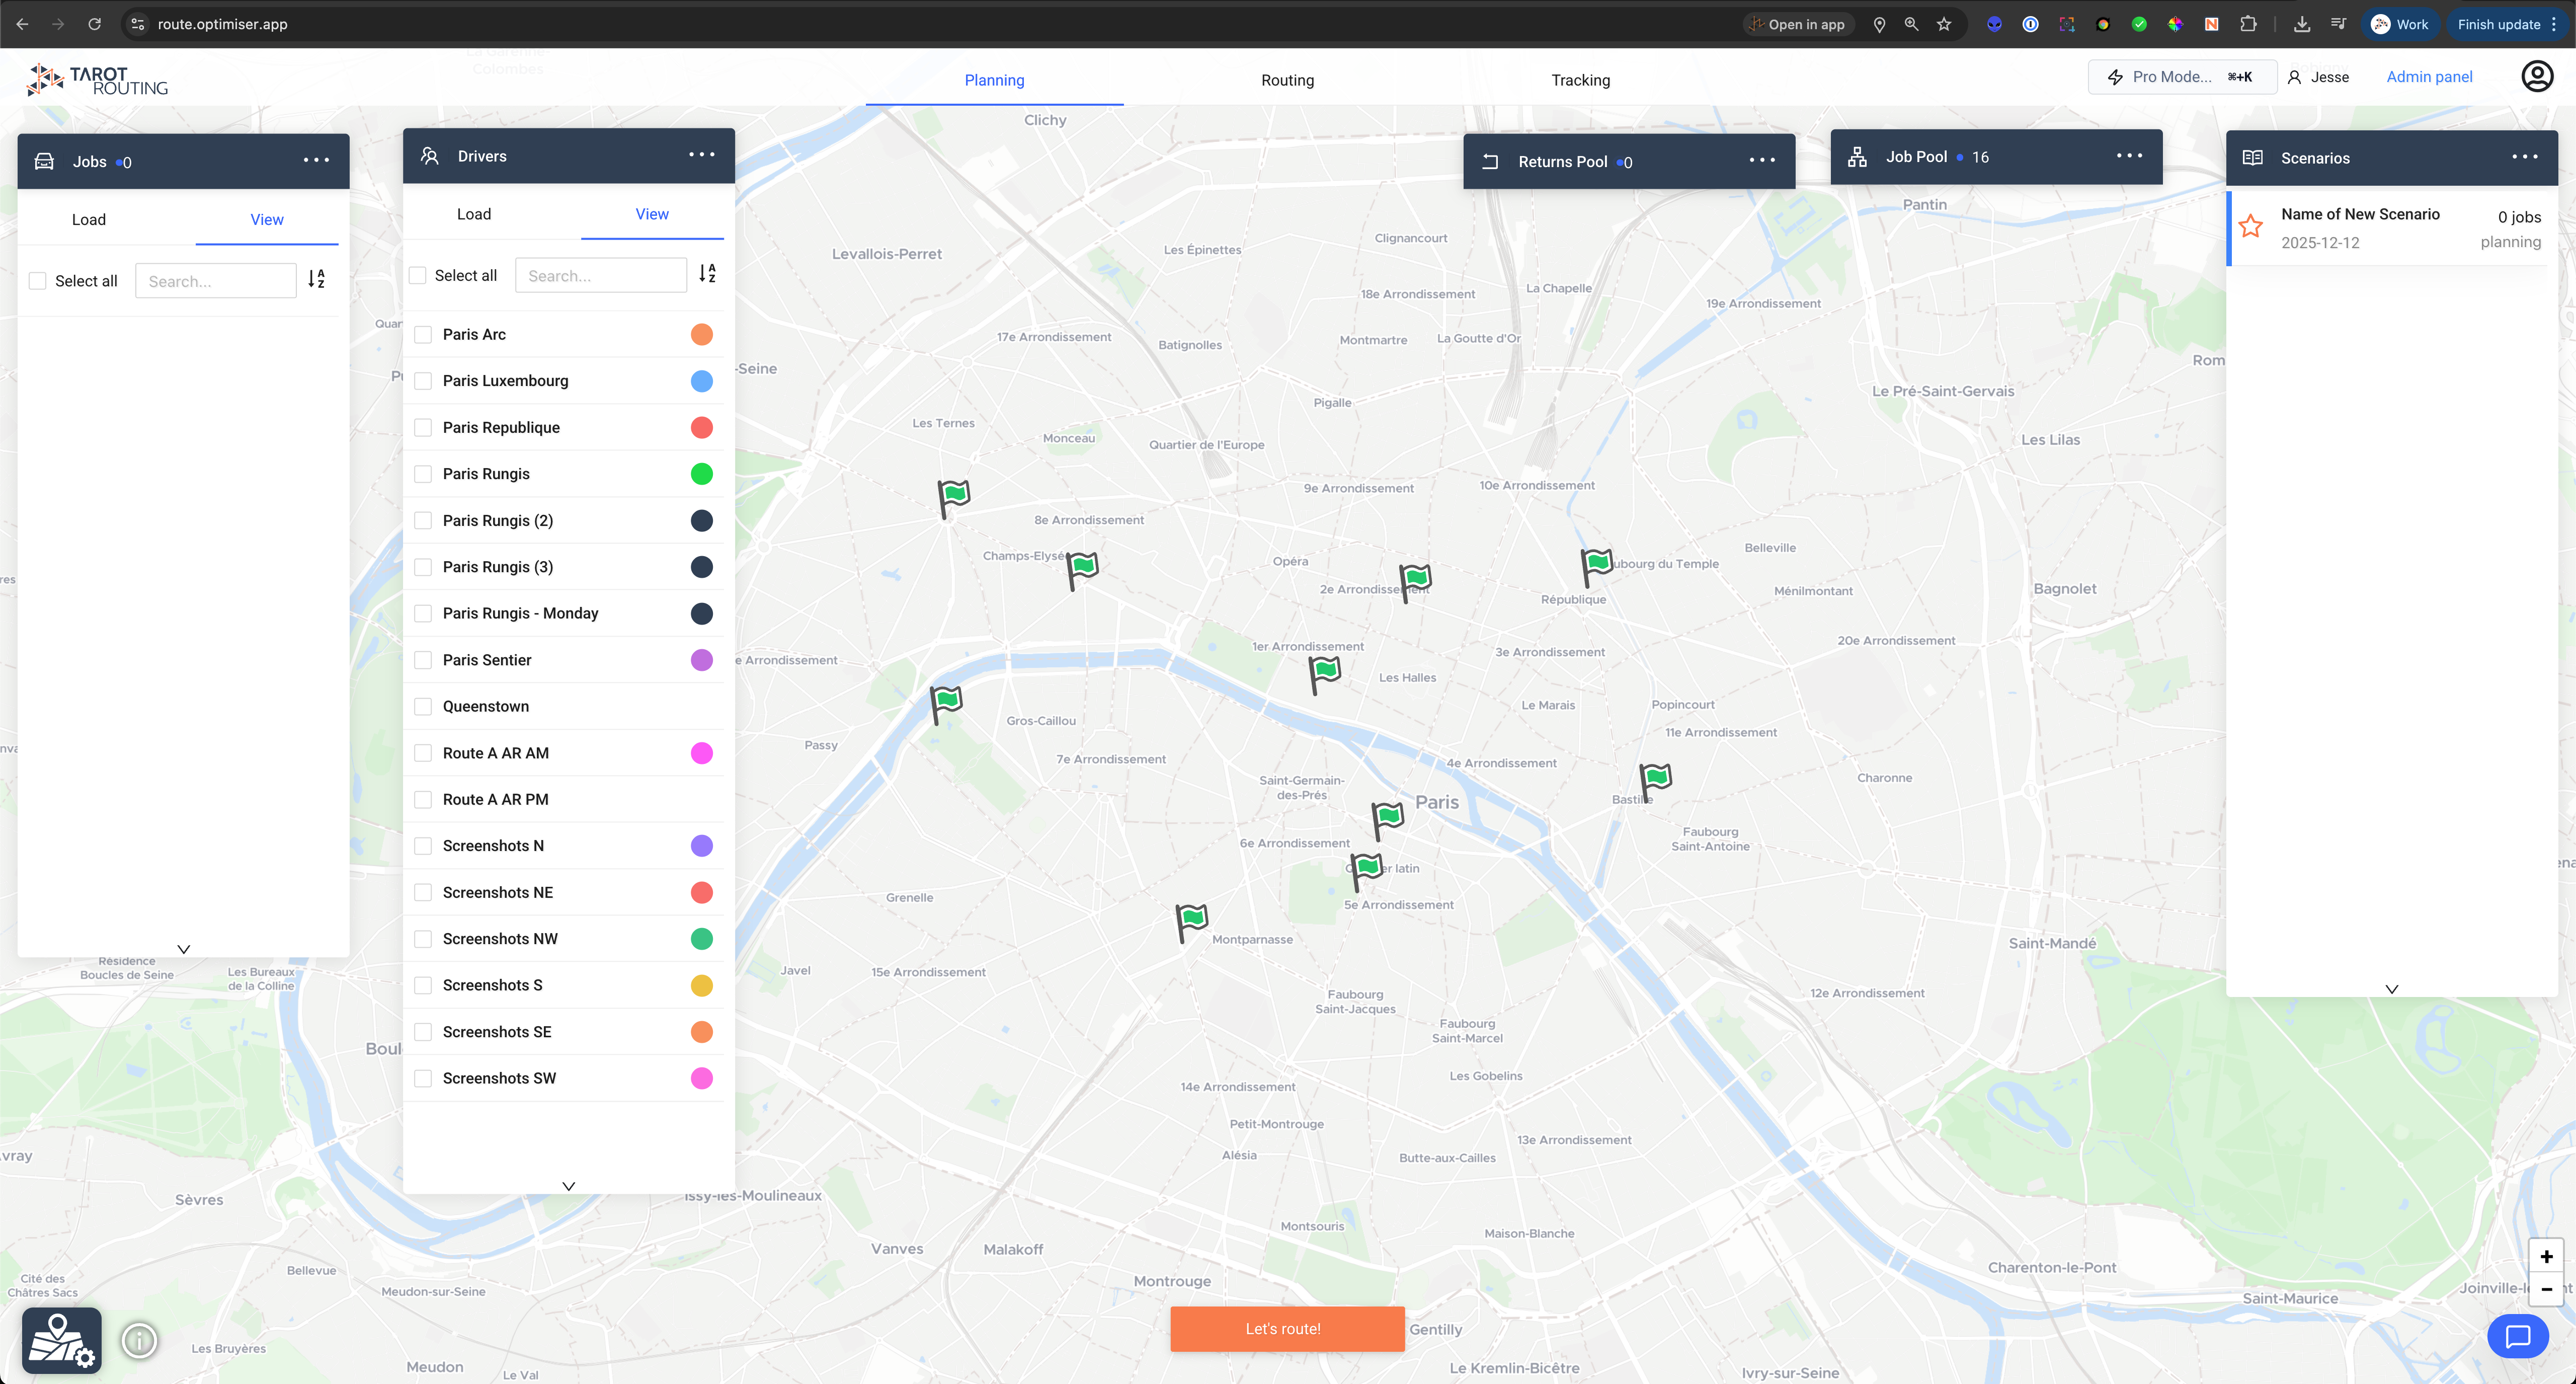
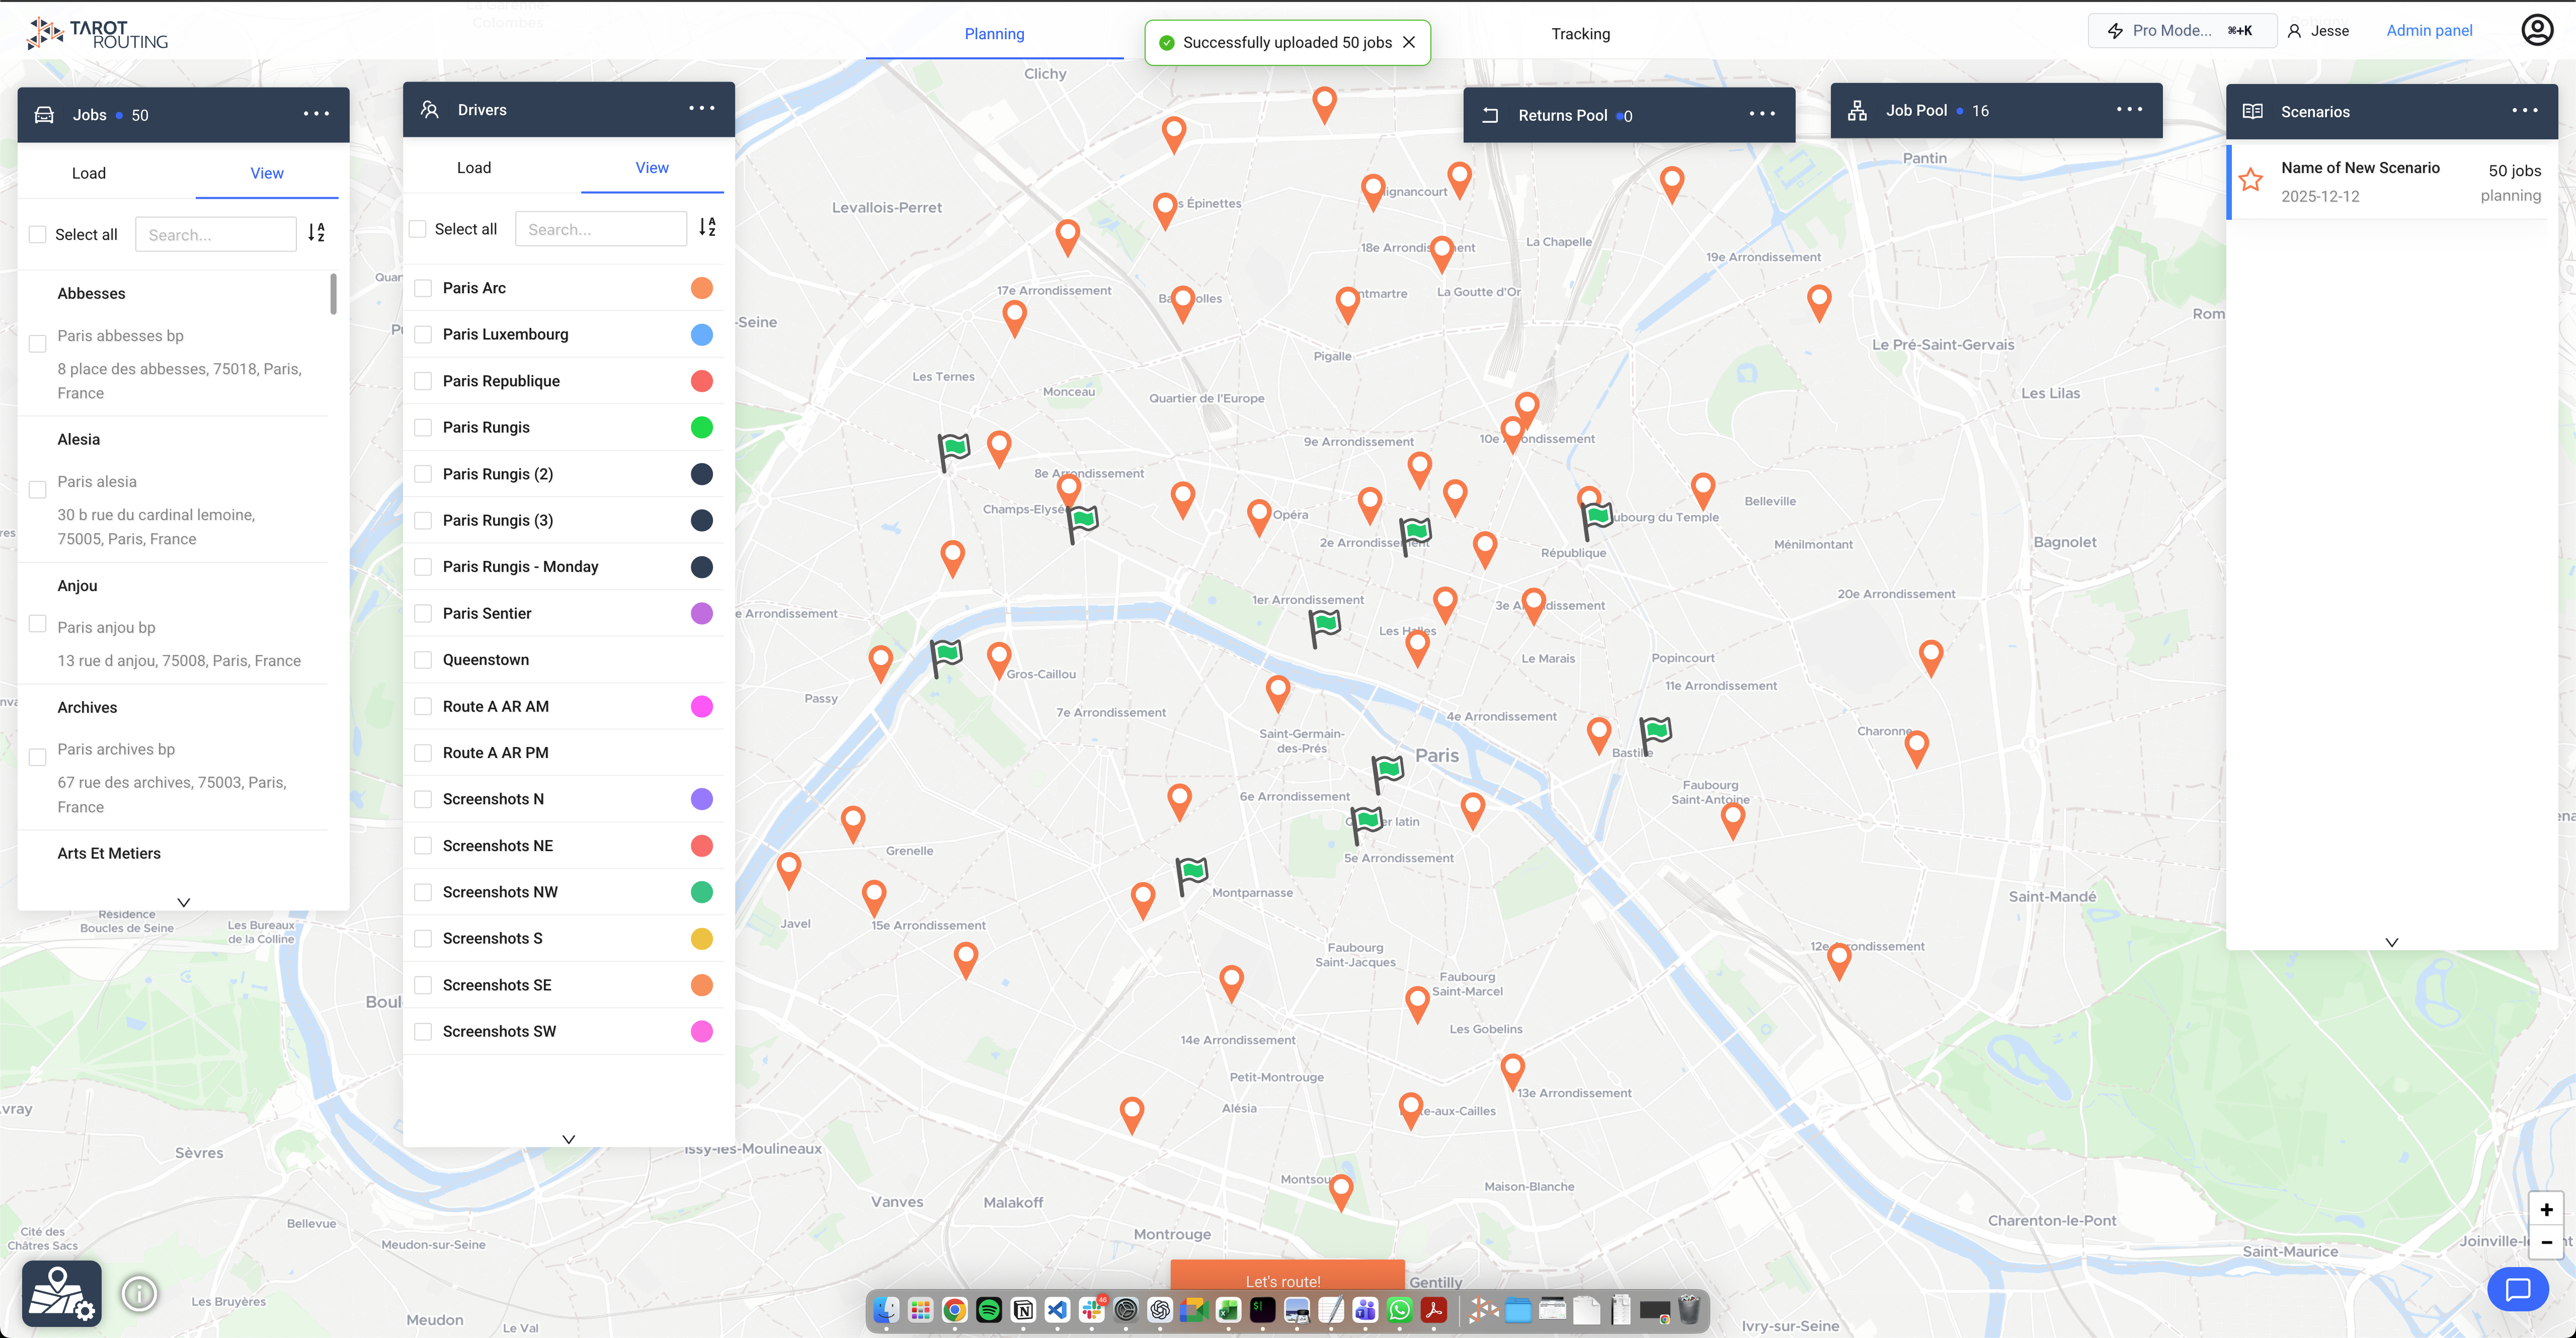
Loading Jobs
- Locate the Jobs Panel on the left side of the screen.
- Click Load.
- Upload your Excel file containing the job and unit data.
Selecting Drivers
- Locate the Drivers Panel (next to the Jobs Panel).
- Select the drivers that should be active for this specific scenario.
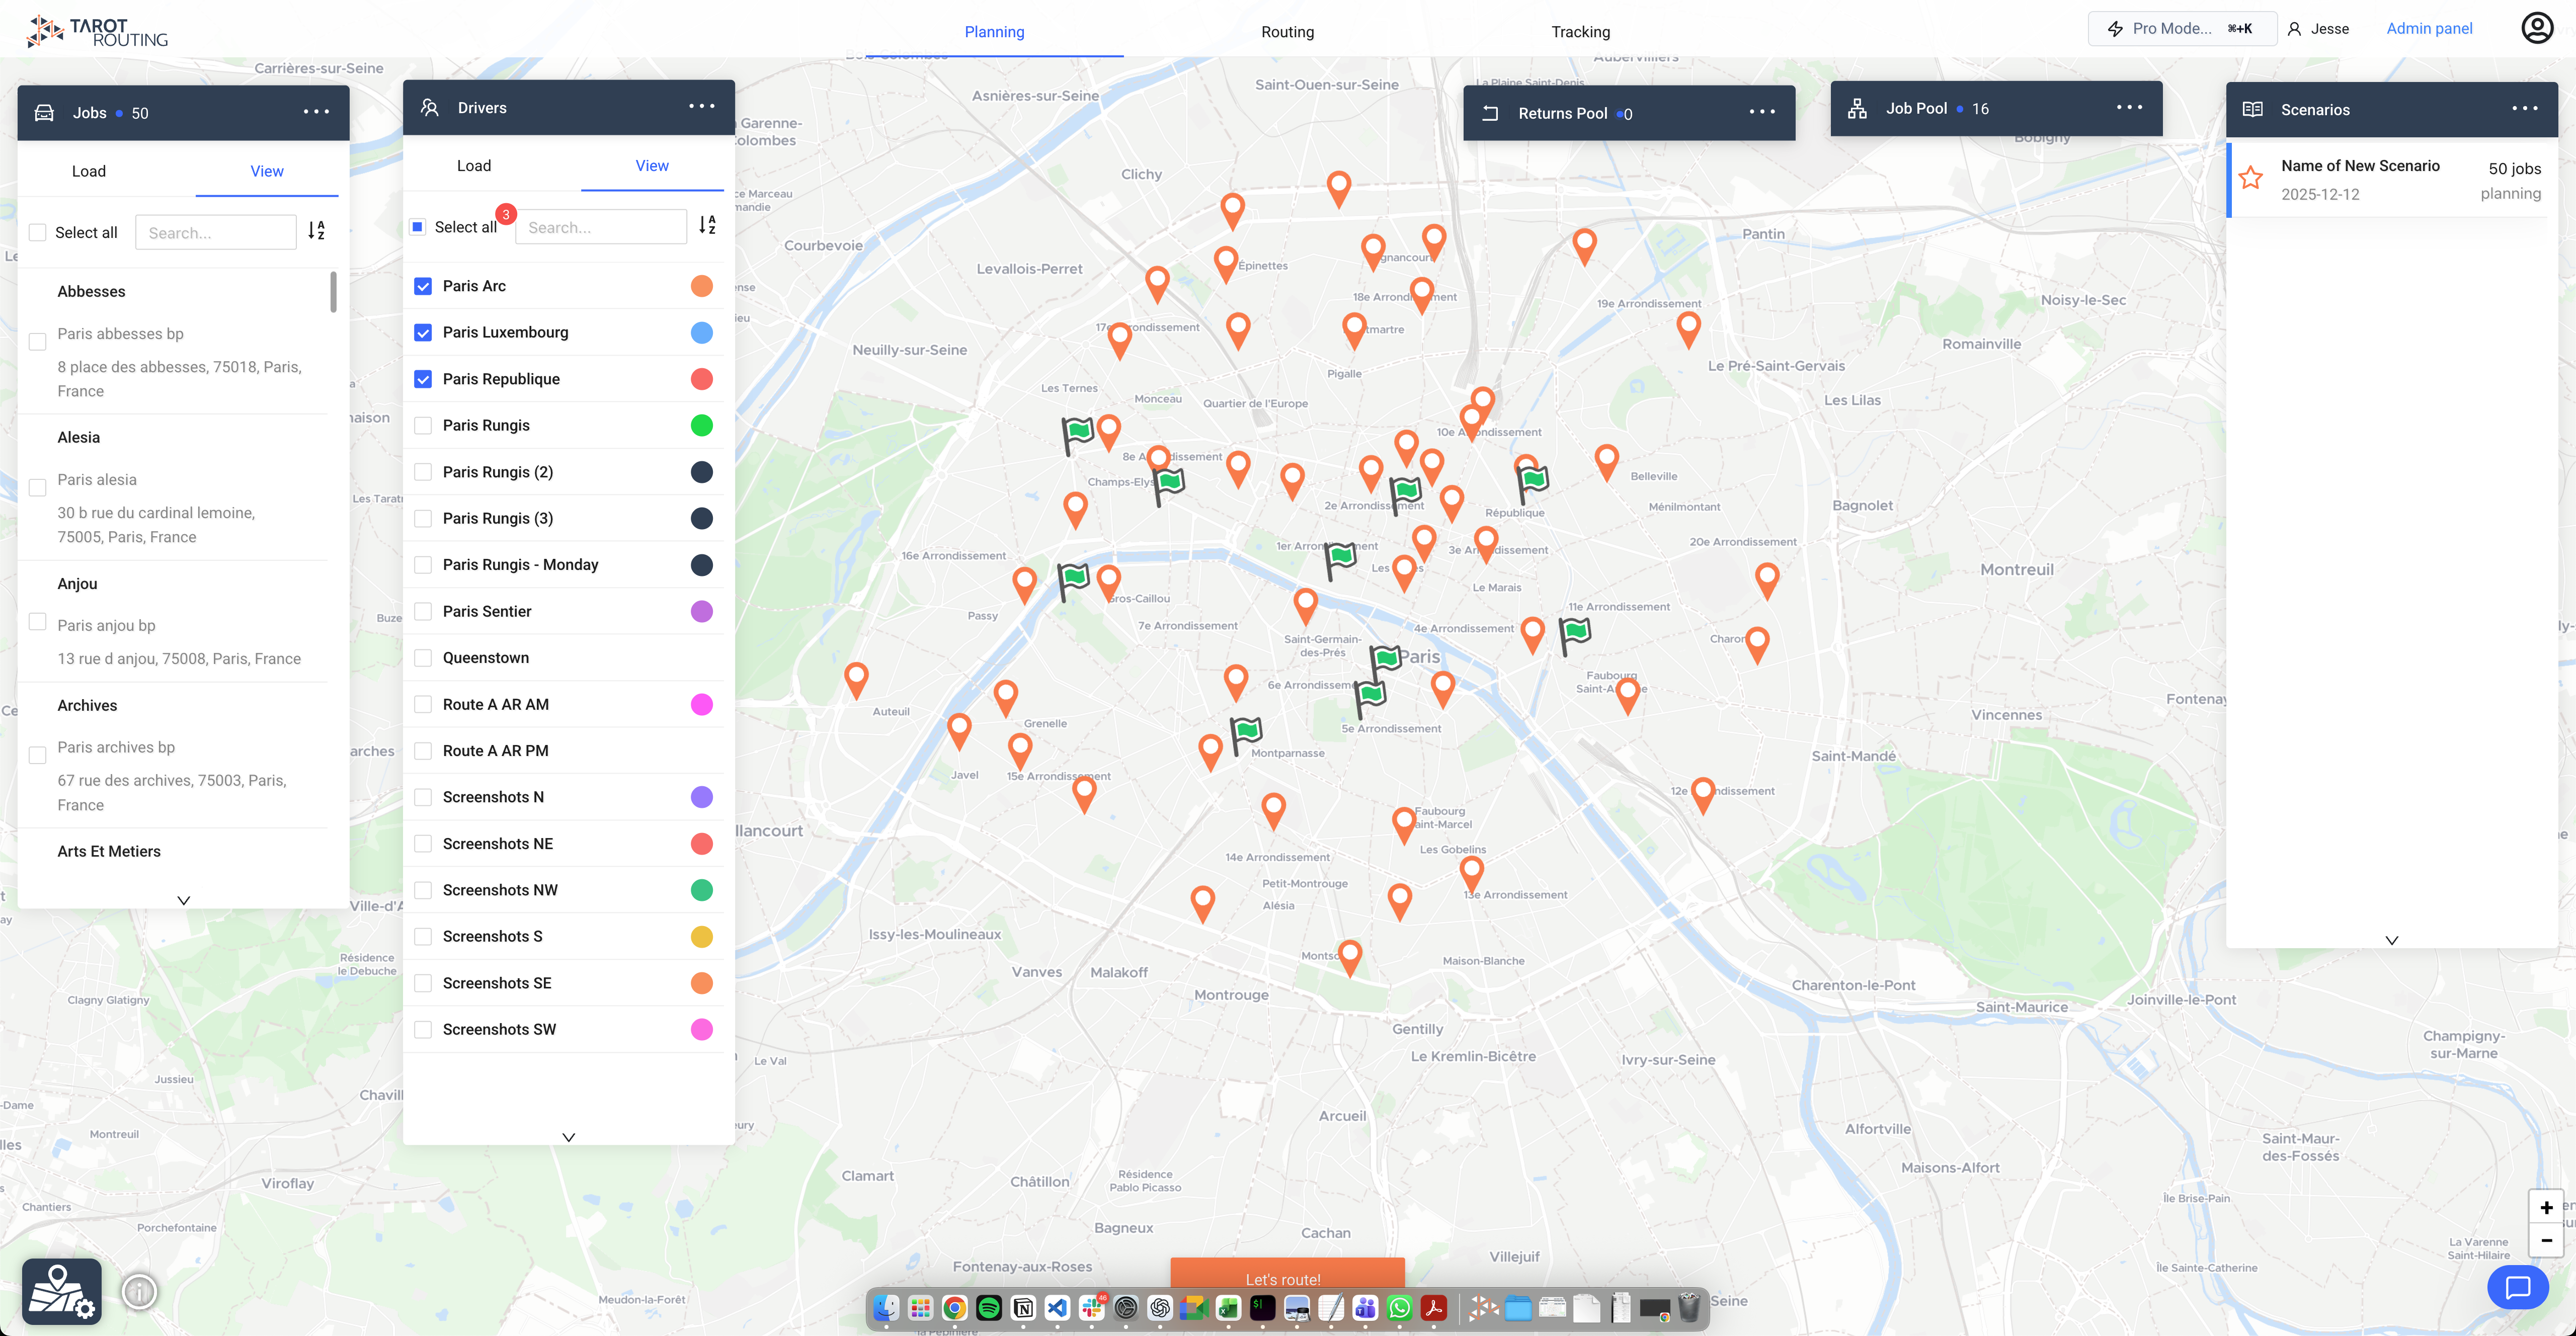
Generating Routes
Once jobs are loaded and drivers are selected: * Click the Let's Route button. * The algorithm will now calculate the optimal assignment and sequence to minimize total driving time.
Routing Stage: Review & Edit
The platform automatically advances to the Routing Stage once routes are calculated. Here you can review and manipulate the results.
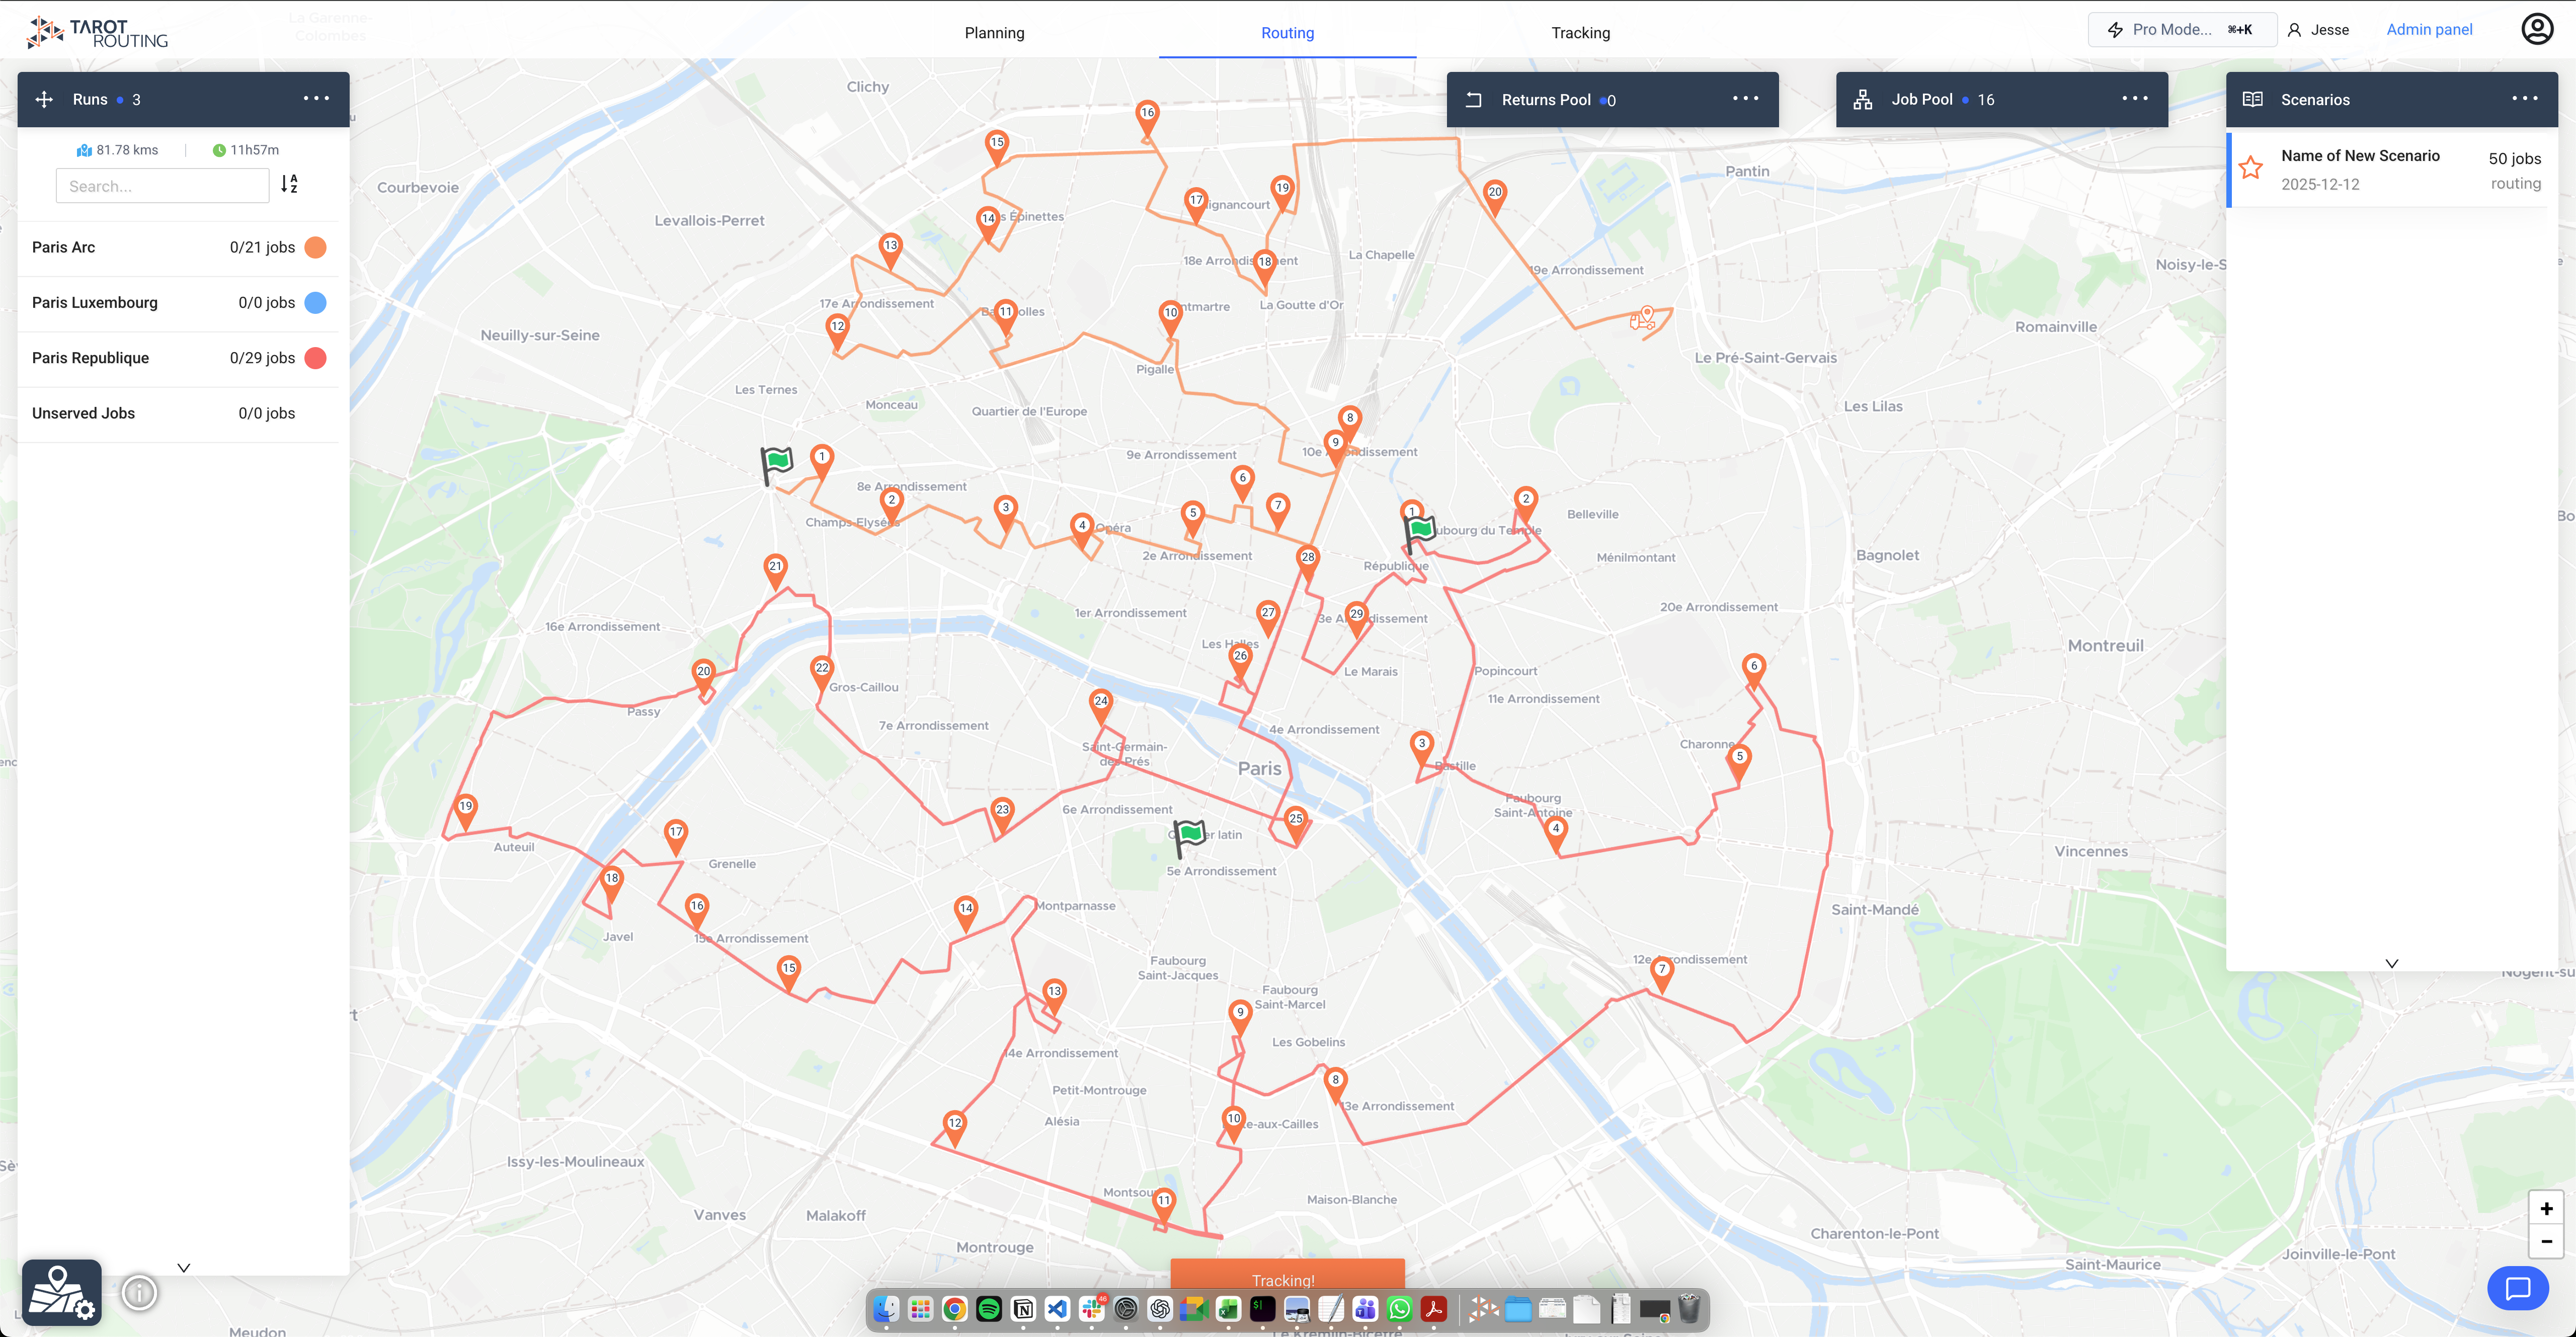
Viewing Runs
- The Runs Panel on the left displays each generated route.
- Click the Menu icon (three dots) on a specific run to access more options.
The Timeline (Drag & Drop)
To make manual adjustments, open the Timeline view from the Runs Panel menu.
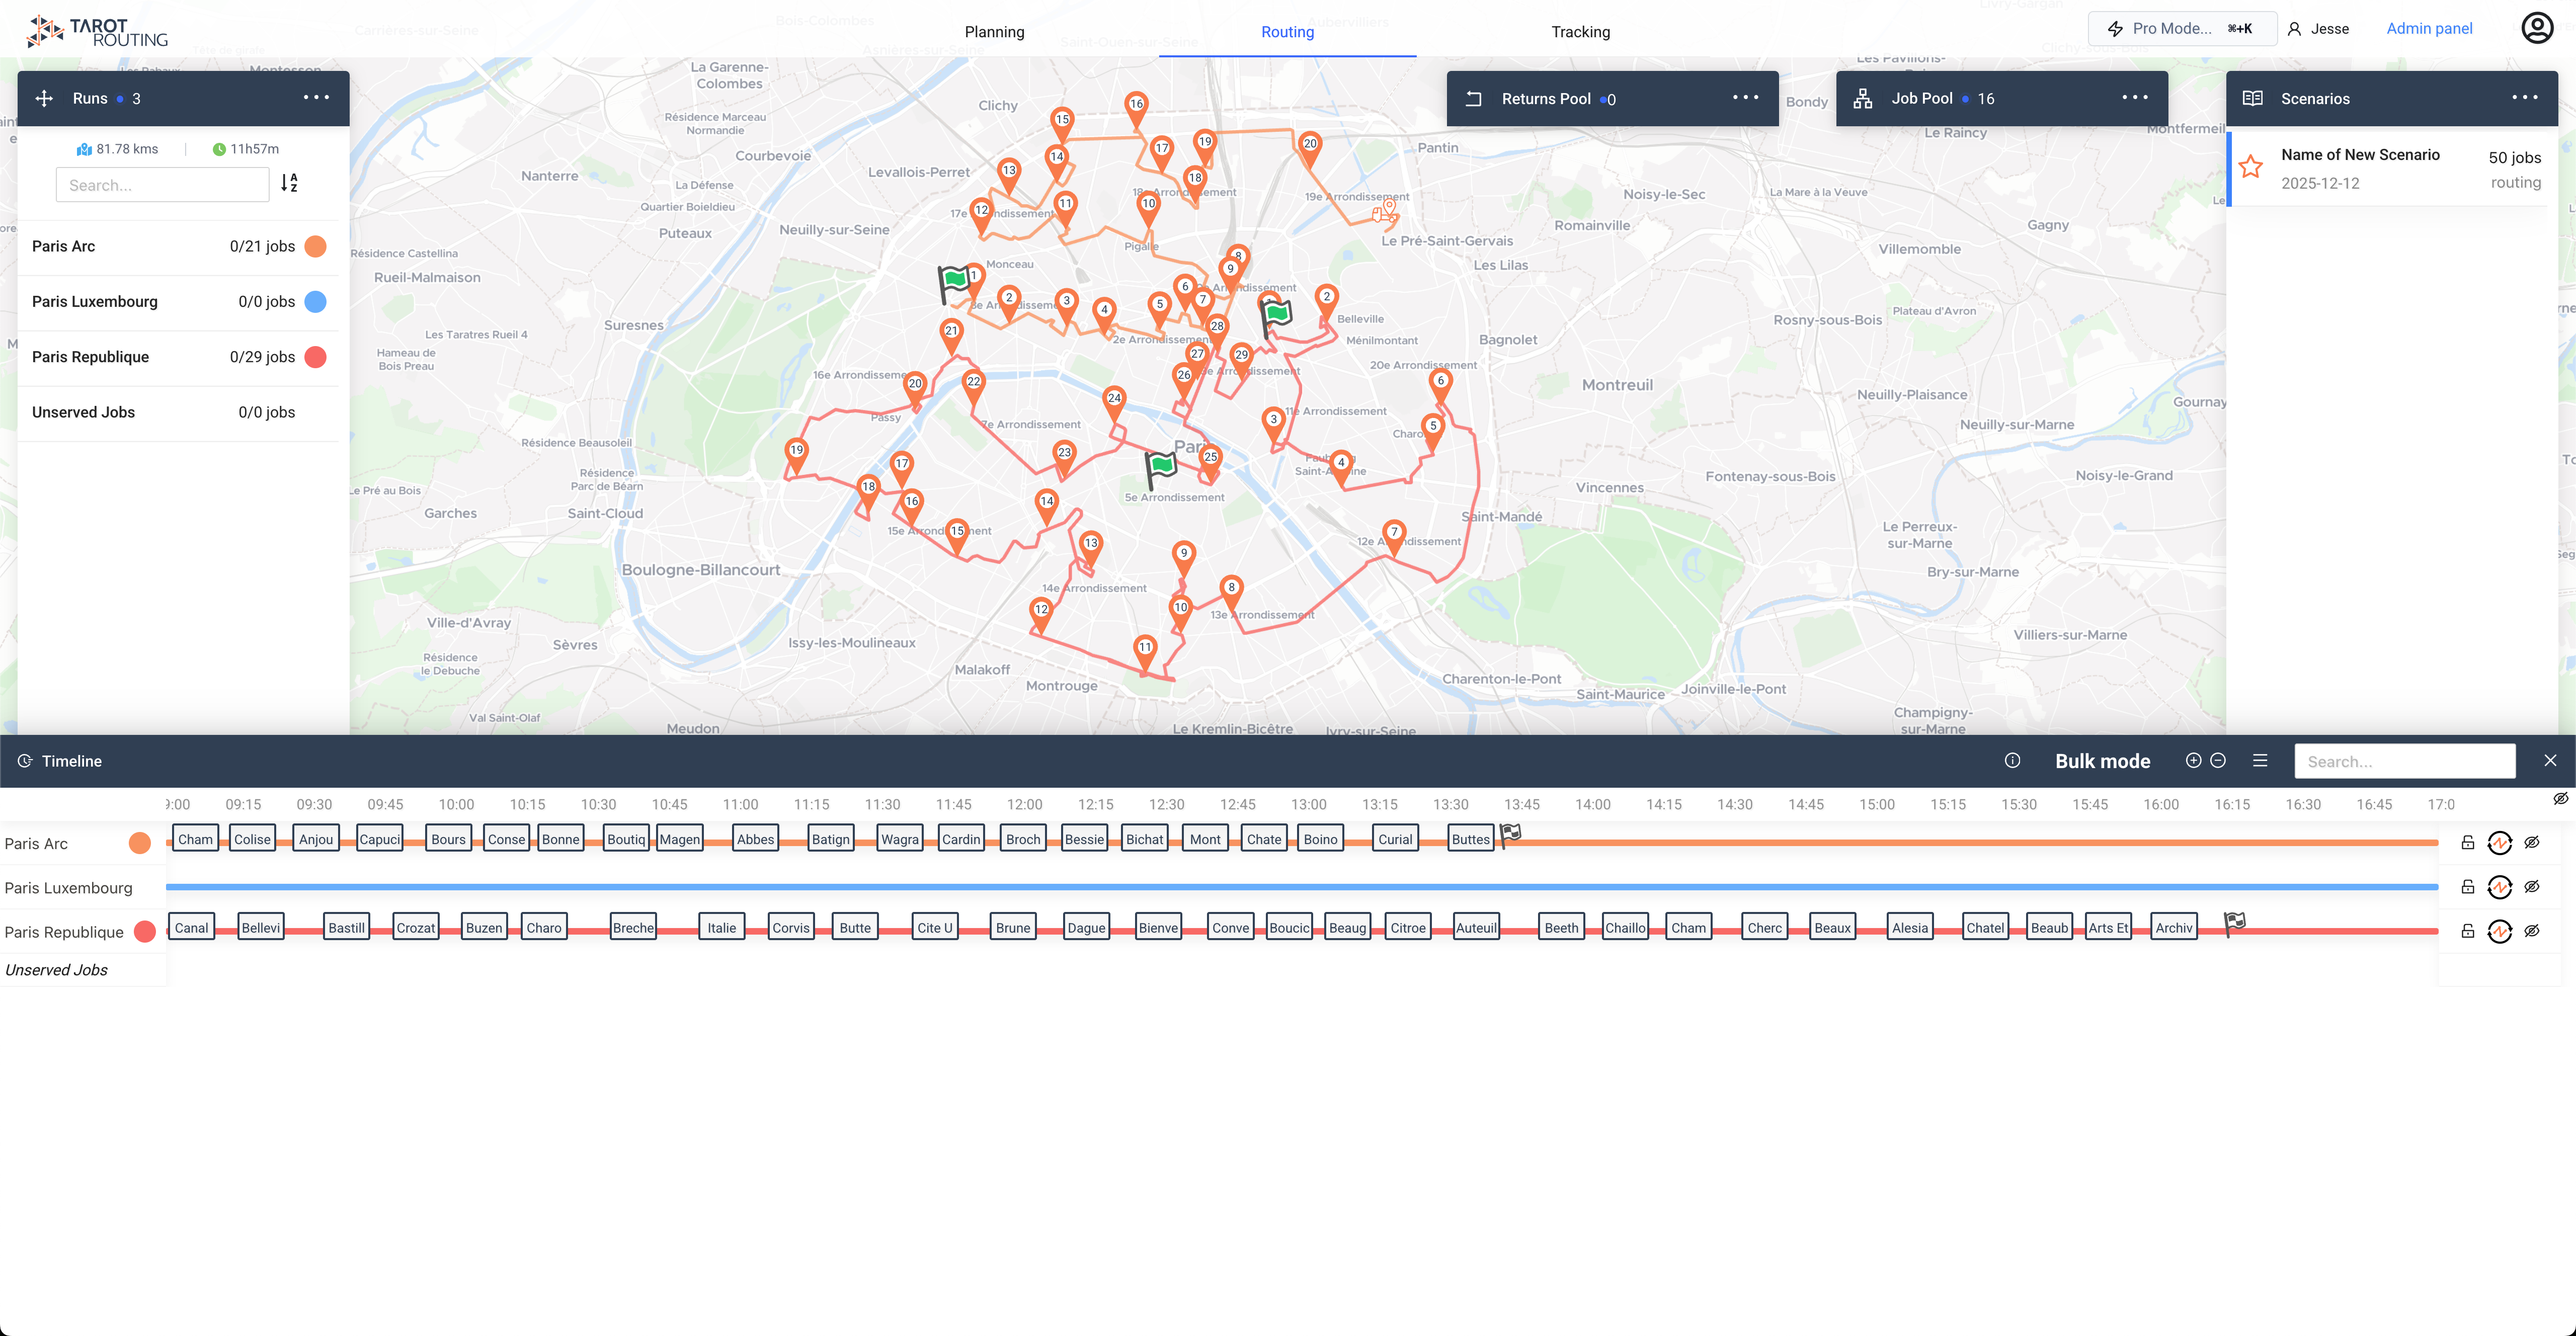
- Move Jobs: Drag and drop a job from one run to another.
- Re-sequence: Drag a job to a different position within the same run.
- Re-optimize: Click the "Re-optimize" button to have the algorithm strictly re-sequence a specific route.
Tracking Stage: Dispatch
When you are satisfied with the routes, click Tracking in the top navigation bar to move to the final stage.
Dispatching to Drivers
- Click the Menu icon (three dots) in the top-left runs menu.
- Select Dispatch.
The QR Code Workflow
The most common dispatch method is via QR Codes, which drivers scan using the Tarot Routing Driver App. You have two options:
- Individual: Click on a specific driver in the list to view their unique QR code.
- Run Sheets (Recommended): Click Download Run Sheet PDF.
- This generates a printable PDF for every driver.
- Each sheet includes the driver's specific QR code and manifest.